Overview and Usage
Verified simplifies multifactor authentication for B2B, B2C, and B2E environments by replacing OTP and KBAs with advanced facial biometrics to make Auth0 an even more flexible solution when adding authentication and authorization services to your applications for both consumer and workforce related access.
This integration adds advanced facial biometrics as a second factor for user authentication and removes annoying one-time codes and concerns about changing or losing devices.
Getting started
Getting started with Verified for Auth0 can be accomplished in 4 easy steps:
Step 1: Sign up for an authID.ai Identity Verification platform account
Step 2: Create an Auth0 integration
- Login to the Identity Portal with your credentials from step 1.
- Navigate to the blade marked Auth0 integration:
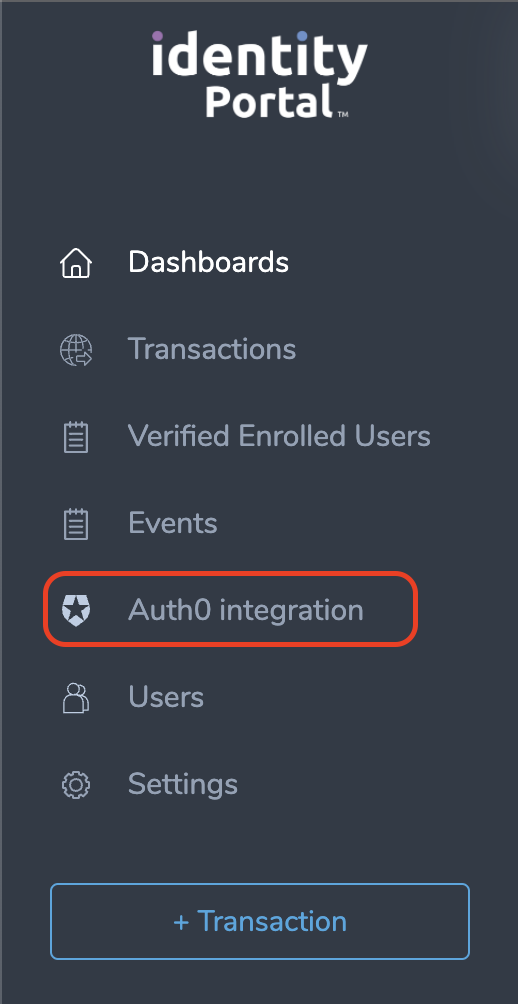
- Create a new integration and adjust the options to suit your needs. You can read more about the various options and their effects on the configuration options page. Be sure that you at least have the Enabled toggle turned on.
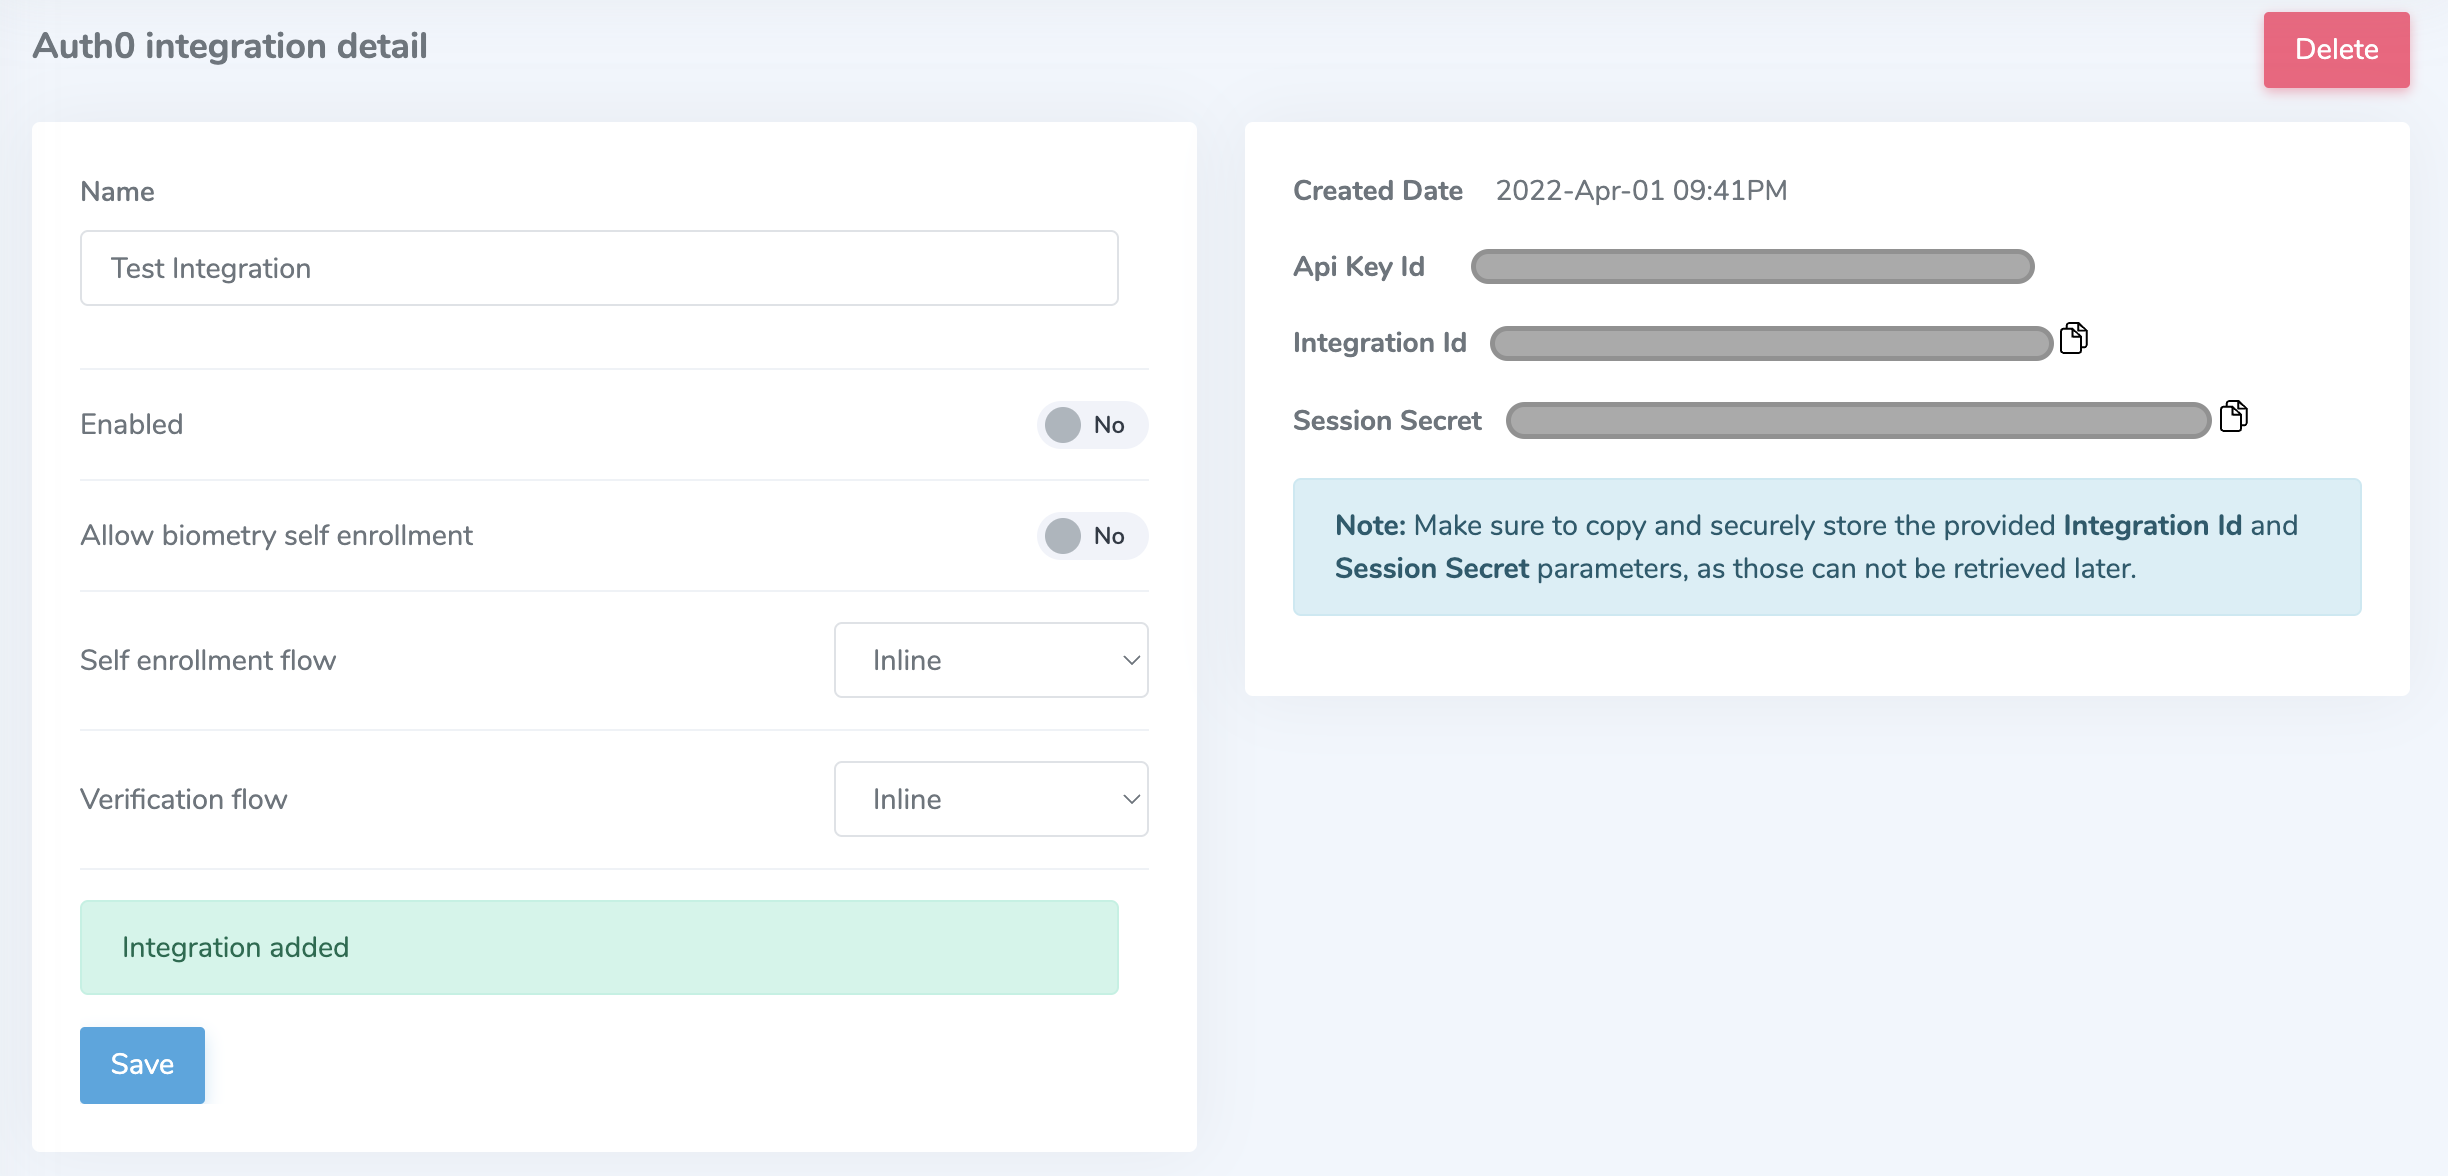
Make sure to copy and securely store the autogenerated Integration Id and Session Secret parameters, as those can not be retrieved later.
Step 3: Add Verified Auth0 action
- Login to your Auth0 Dashboard.
- Navigate to the Actions blade, select Library, and press + Add Action button.
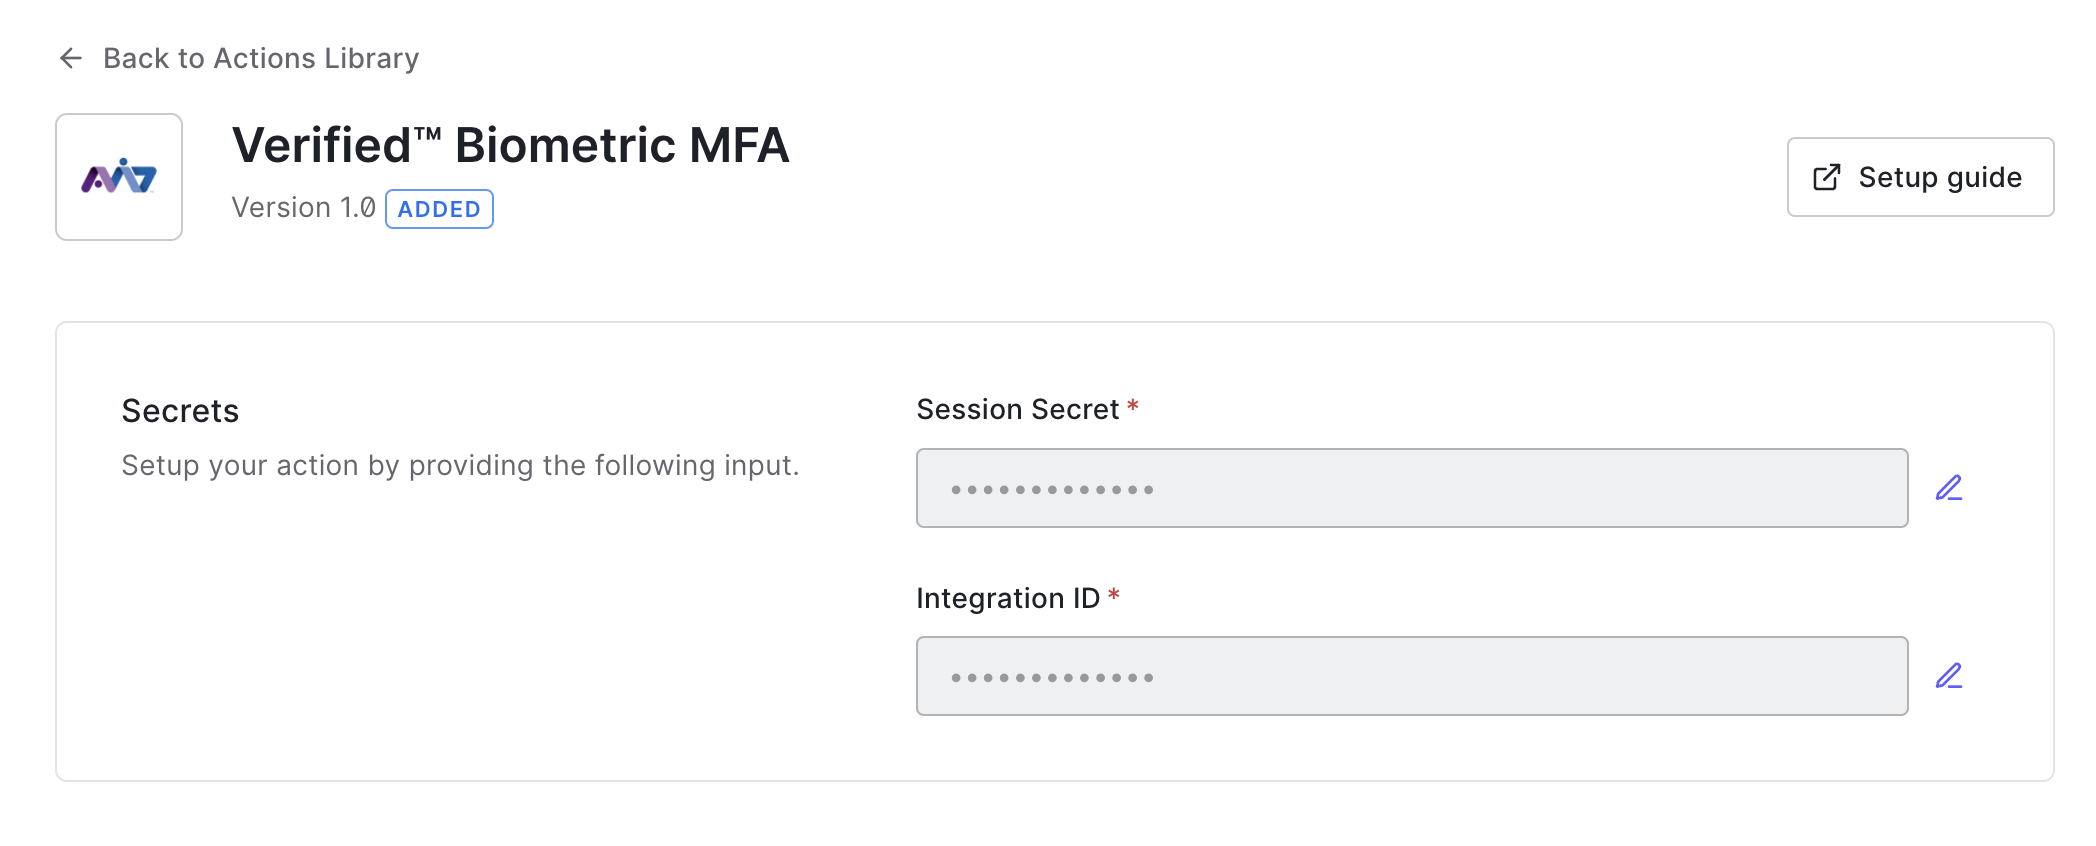
- Start typing for "Verified" in the search box to find "Verified Biometric MFA" tile. Click on it to open the description page, then press Add Integration.
- Review the permissions required by the integration to function and press Continue.
- Configure the integration with the Session Secret and Integration Id obtained when creating the integration from step 2.
Step 4: Implement the action
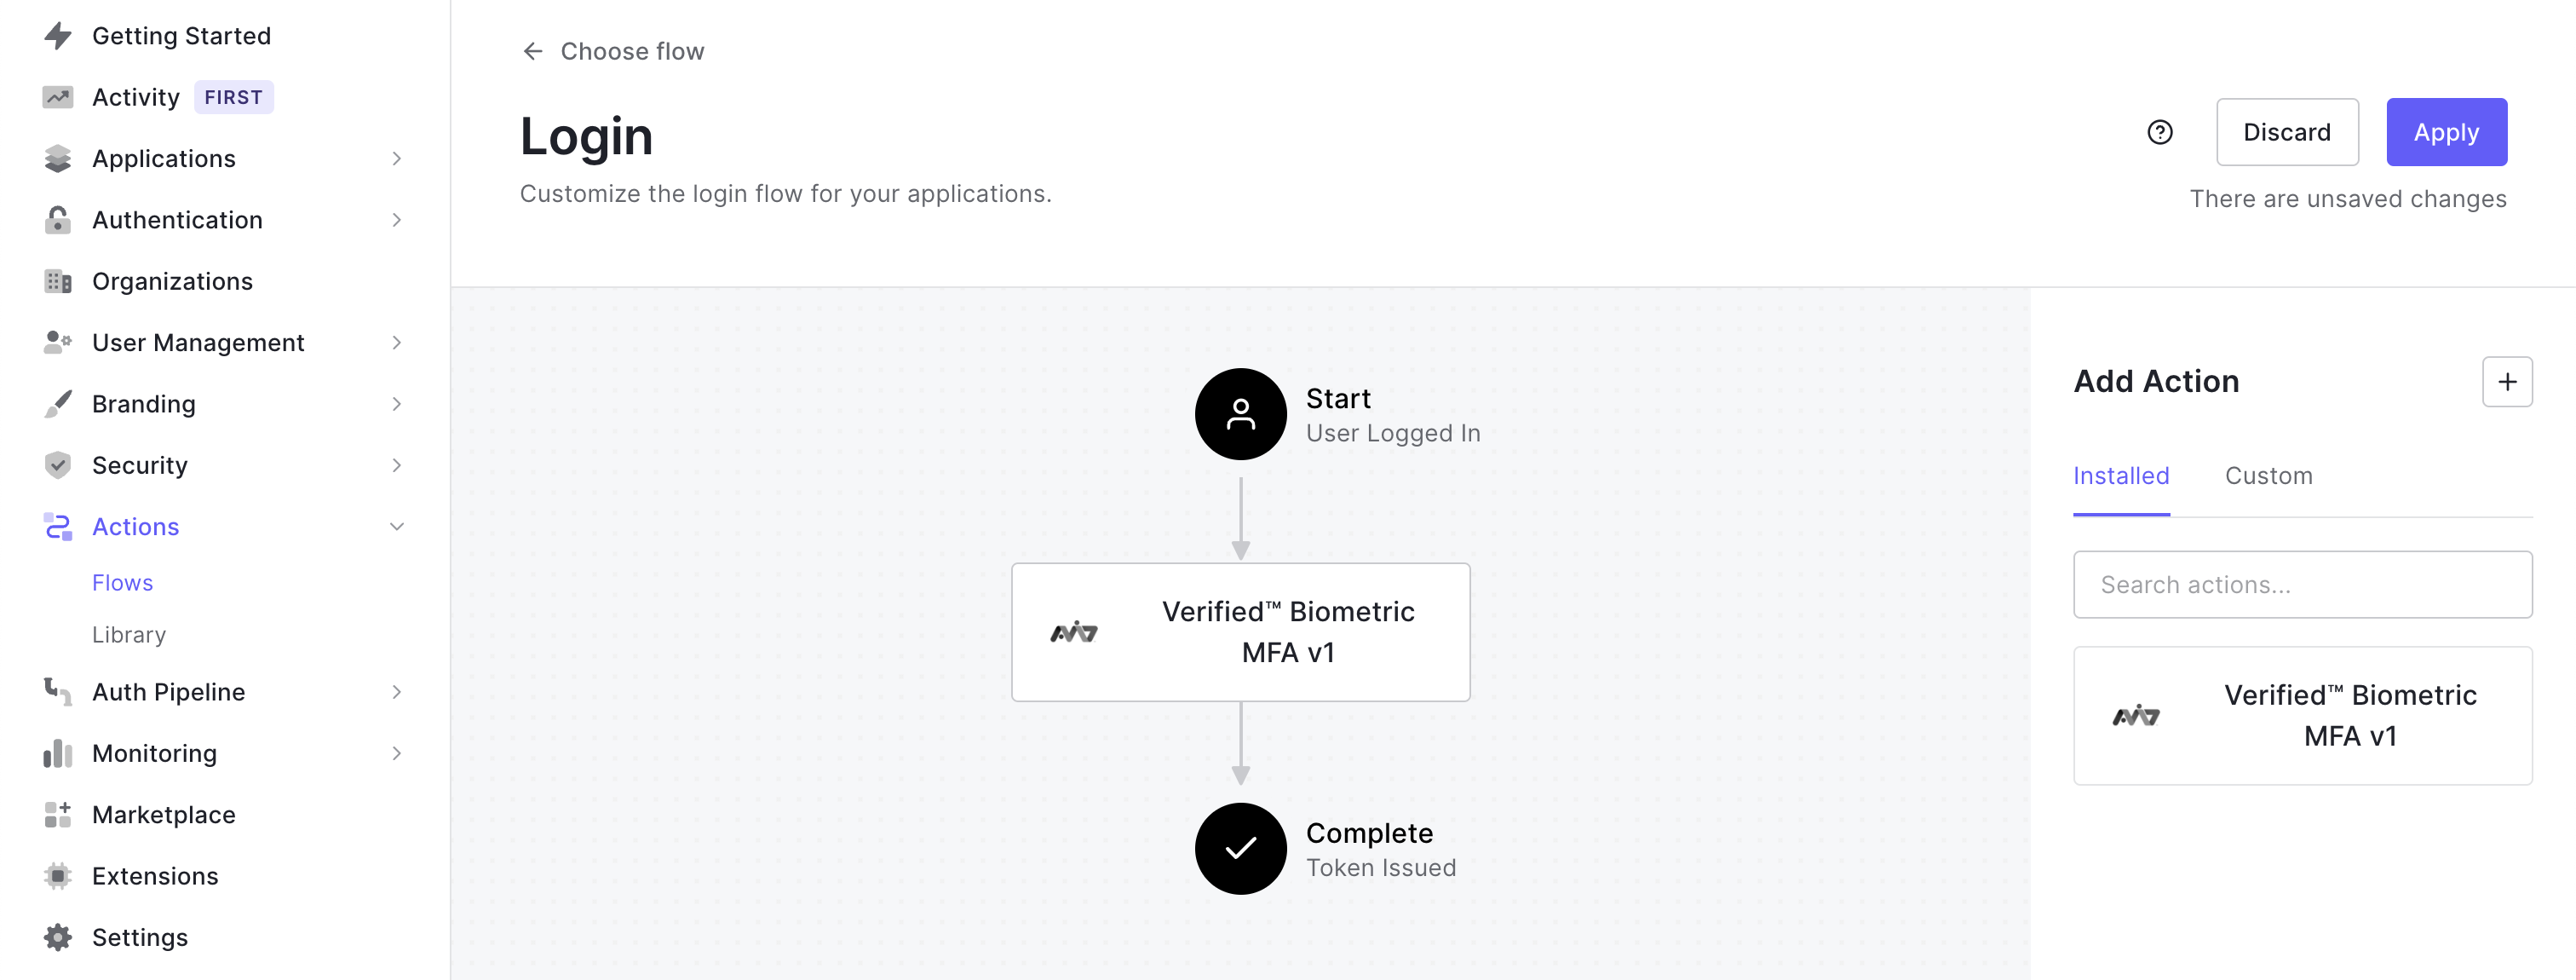
- Navigate to the Actions blade, select Flows, and choose the Login Flow tile.
- Drag and drop the Verified action into your login flow.
- Apply the changes and confirm the action works in your application.
Video Walkthrough
We've included a video walkthrough to guide you through step 3 and step 4 of this process:
Confirming action functionality
Once the Verified Integration is enabled in your Auth0 Actions, your users will login as usual to your application. If you have chosen to use the always-on request mode, users will then be seamlessly redirected to the Verified experience for biometric enrollment. Once their biometry is captured and liveness is confirmed, the user's Verified account is created. You can also elect to enroll a user on-demand after they have logged into your application, effectively deferring enrollment according to your business logic.
You can view a user's biometric credential by navigating to the Verified enrolled users section of the Identity Portal. Each user created within the Verified platform will have an external ID as seen in the screenshot below:
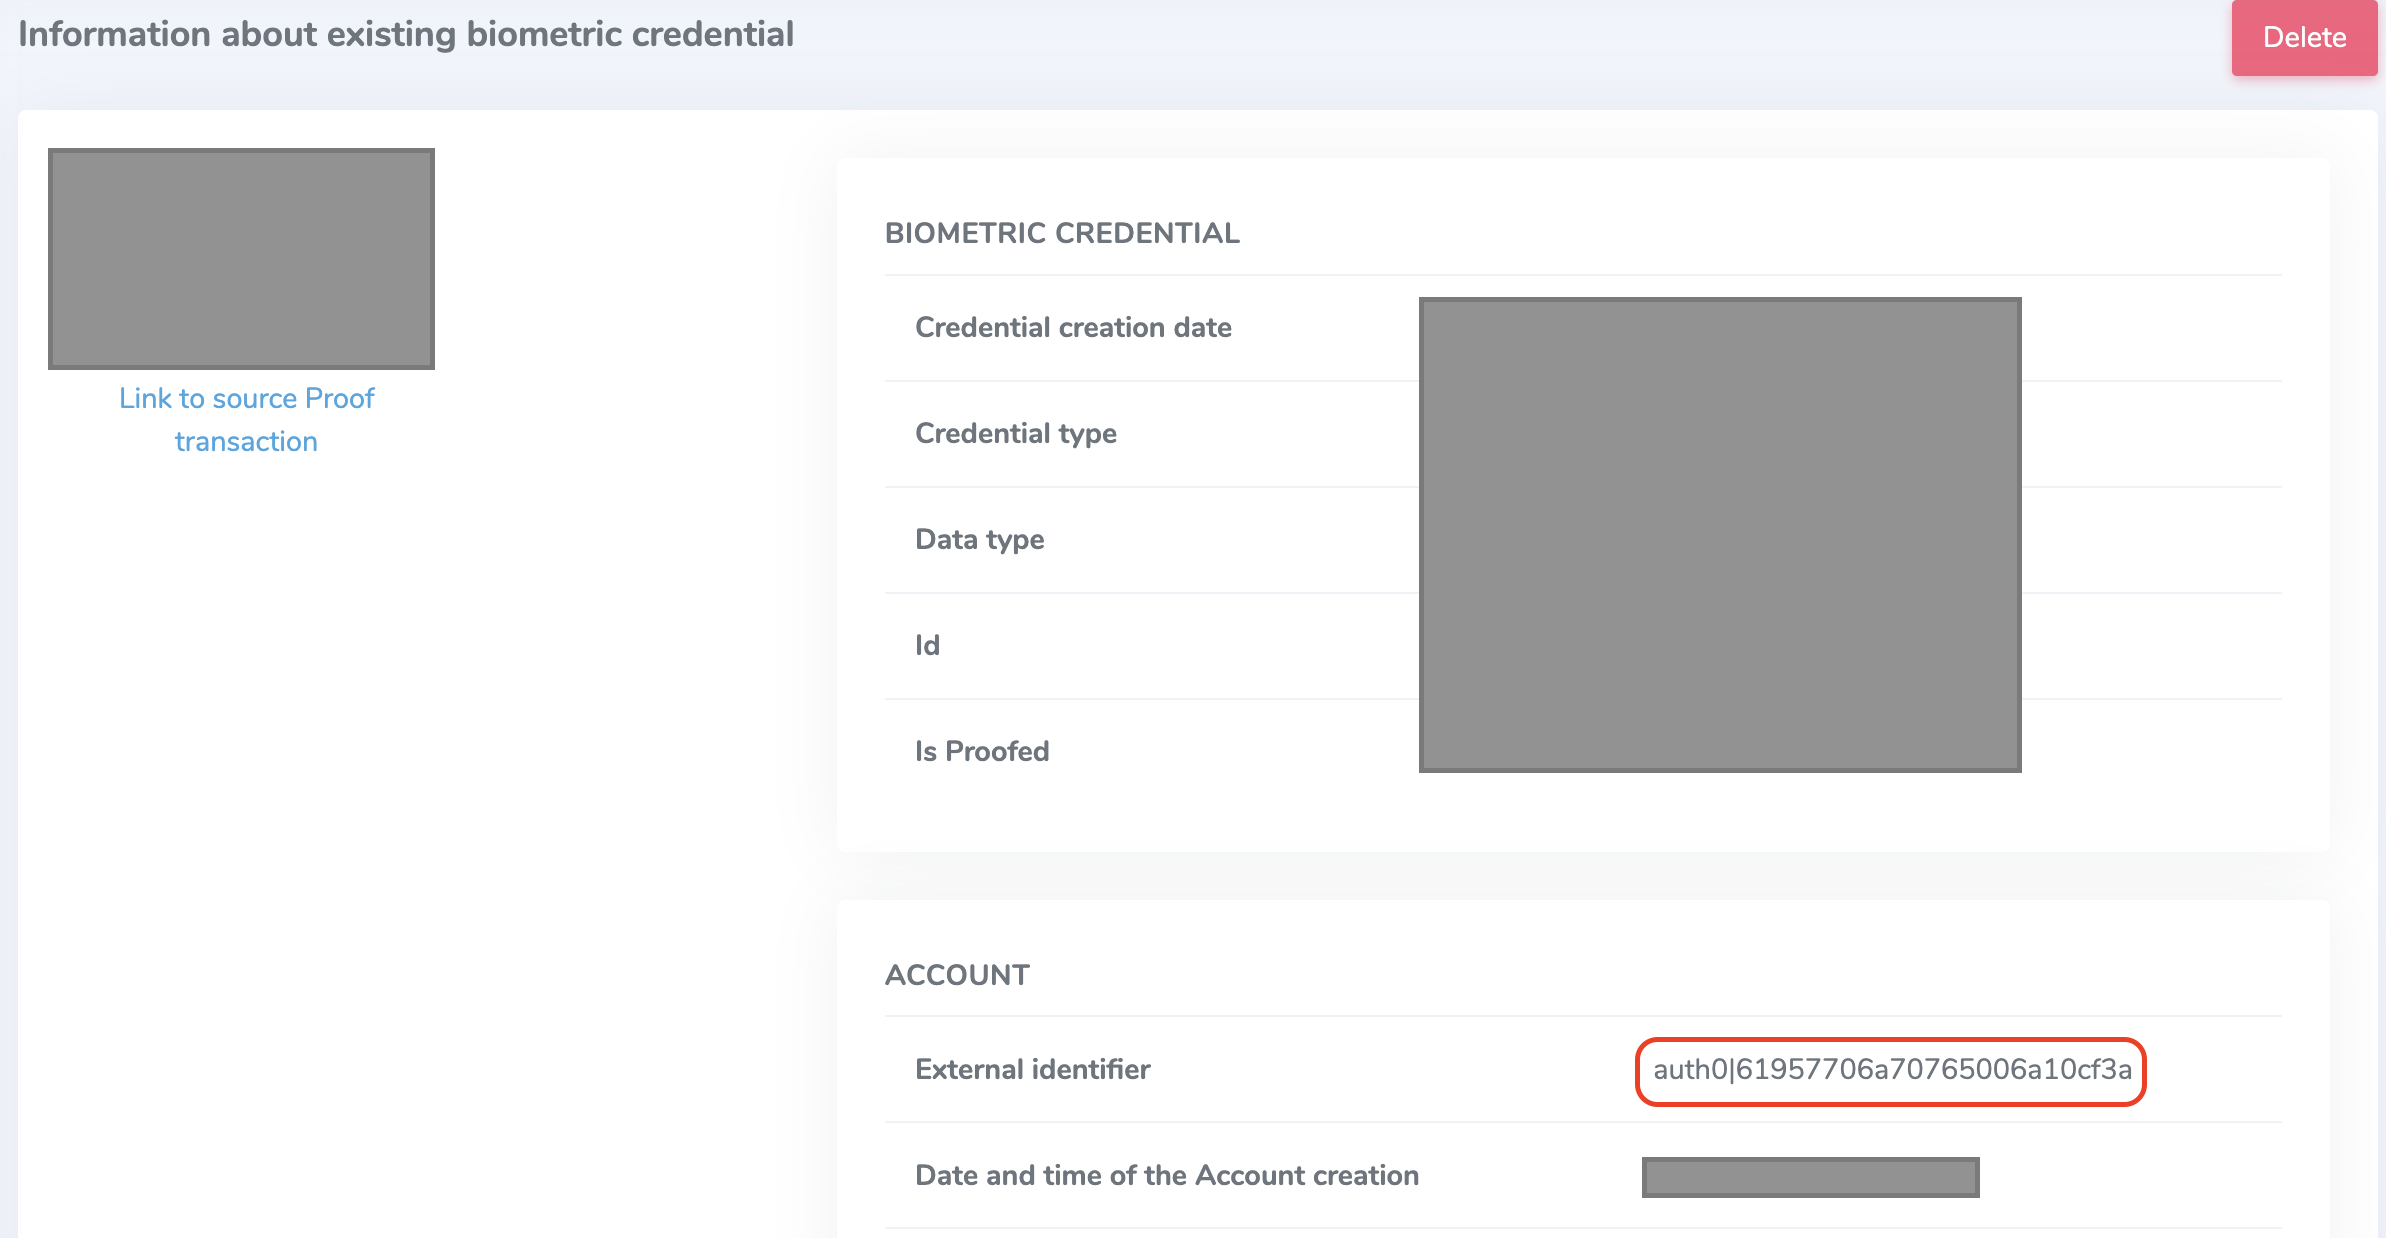
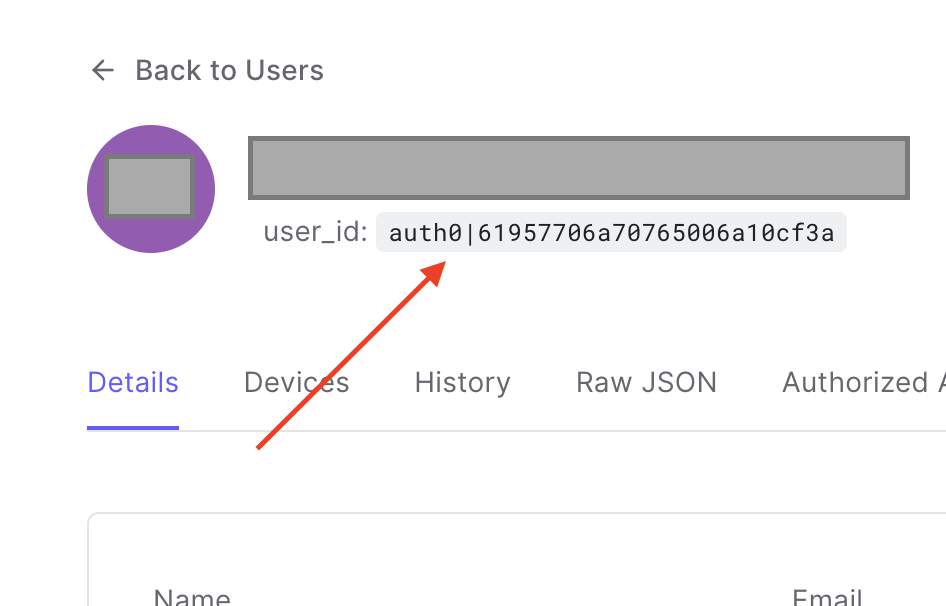
Notice that the External identifier is the same value as the user_id for a user in your Auth0 instance, demonstrated in the screenshot below. This is how the Verified platform is able to retrieve and compare a user's reference biometric credential.
Communication Sequence Diagram

Always-on vs. On-demand usage
Designed to be a part of Auth0 login flow, Verified CloudConnect for Auth0 is invoked as an Auth0 post-login action, as seen in the diagram above. When enabled, the user token is issued only if the user successfully passes the Verified biometric authentication process. This process can be invoked on-demand as your business rules require, or included with every request requiring authentication.
Always-on Mode
When using the always-on request mode, any time a user attempts to perform a protected activity that activates the Auth0 login flow, they will be prompted to complete a biometric authentication challenge to verify their identity. This means that not only will the user be prompted to present their biometrics when logging into the application, but also any time a login check is required as defined by your business rules (e.g. changing account details, accessing sensitive documents, transferring funds, etc.). In the diagram below, this is indicated by the protected activity loop:

On-demand Mode
By contrast, the on-demand request mode allows you to define exactly when you present a biometric authentication challenge to check a user's identity. In the diagram below, there are two possible paths to follow when a user performs a protected activity. If your business logic dictates that a user needs to complete a biometric authentication challenge to proceed, it will follow the same process as the always-on request mode. Otherwise, you can choose when and how to issue the biometric authentication challenge based on your business logic.
The critical difference is that you can opt to not require such a challenge. This could happen in any of the following example scenarios:
- A user has already completed a biometric authentication challenge during this session (e.x. initial login to the application)
- The activity being performed is not considered high-risk or high-value (e.x. updating non-critical account information)
- You have verified the user through other means (e.x. device authentication or passwordless login)
Calling Verified on-demand is simple. If you have set the Auth0 action to on-demand mode, you need to add or modify an additional query string called acr_values for the request to the /authorize endpoint. In order to request that Verified be used as the MFA mechanism and trigger the post login-action, the query string should be set to acr_values=https://authid.ai/policies/multi-factor. For example, when using the authorization code flow for a user to login to the application or perform an otherwise protected activity, you would send the request like so:
https://YOUR_DOMAIN/authorize?
        audience=https://YOUR_DOMAIN/userinfo&
        scope=openid&
        response_type=code&
        client_id=YOUR_CLIENT_ID&
        redirect_uri=https://YOUR_APP/callback&
        state=YOUR_OPAQUE_VALUE&
        acr_values=https://authid.ai/policies/multi-factor
Once a user has completed this flow, their Auth0 token will have a new claim added to it called https://authid.ai/claims/amr with a value of mfa. In the future, you can check for the presence of this token claim and choose to conditionally perform a step-up challenge by adding the query string as shown above.
Note that the action can function with any of the supported flows being used by your application.

This overview demonstrates how you can utilize the Verified action in your post-login workflow. If you need to change the request mode of the Verified action, visit the action installation page for more information.