
Verified™ Users
V.1
Verified™ Users
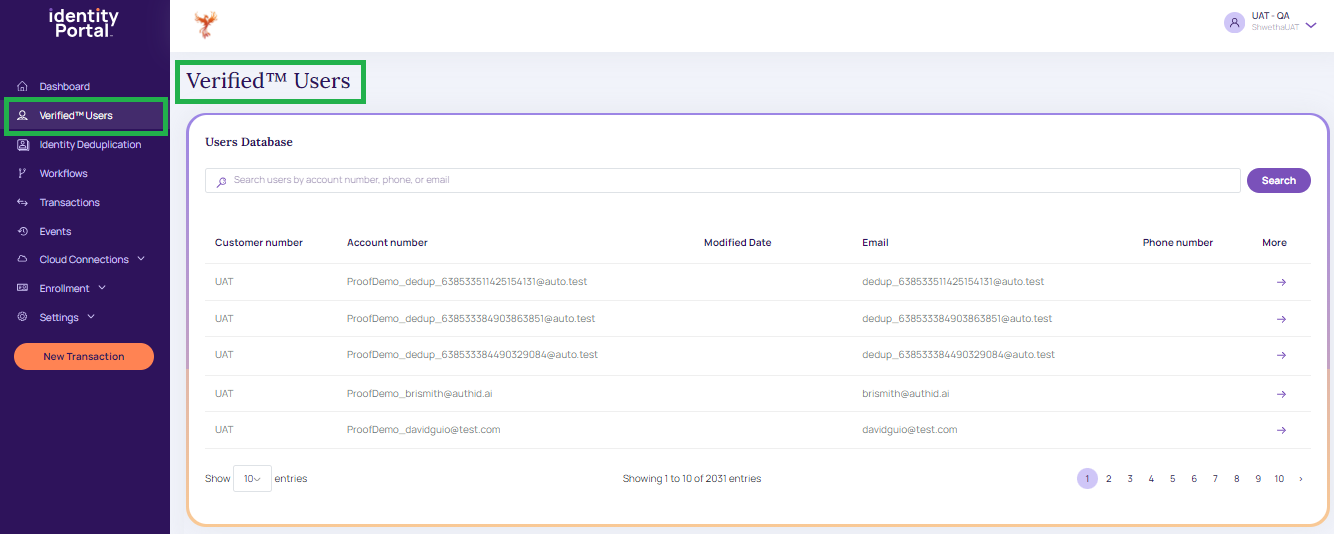
The Verified™ Users option in the left menu provides access to a searchable list of registered user accounts. Selecting a user via the link with the purple arrow displays their account details, including:
- Biometric credentials.
- Passkeys.
- Complete user profile.
- Account status, with options to activate or deactivate the account.
Verified™ Users
Users Database
- From the Identity Portal home page, click Verified™ Users to access the following Users Database grid table.
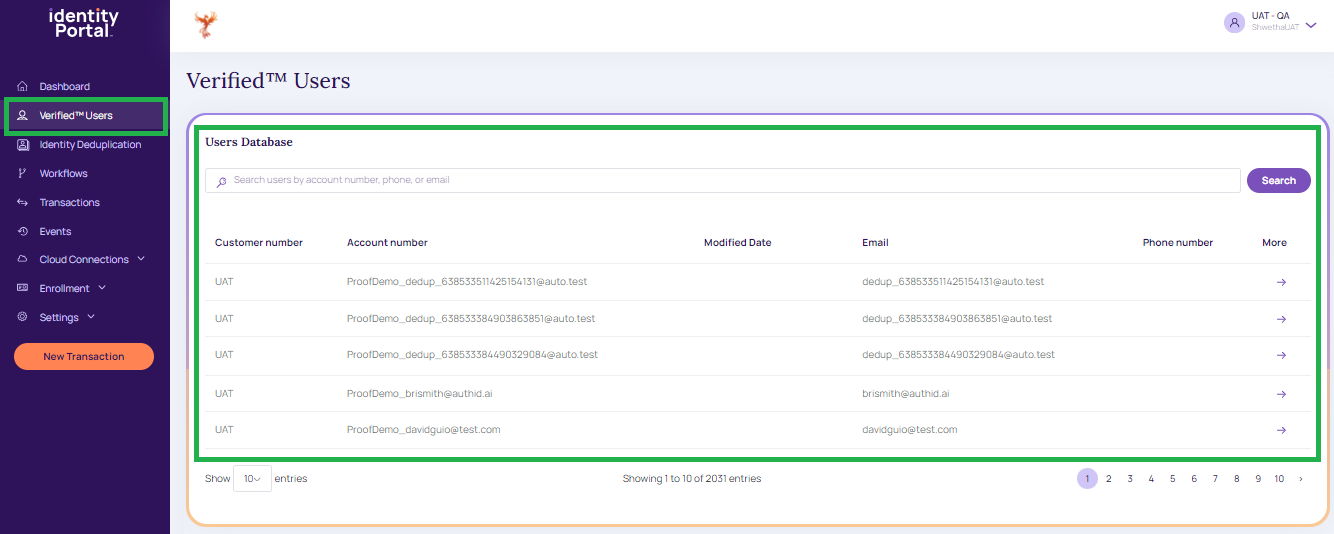
Users Database
| Field | Description |
|---|---|
| Customer Number | It displays the customer number of the user. |
| Account Number | It displays the account number of the user. |
| Modified Date | It displays the modified date and time. |
| Email ID of the user. | |
| Phone Number | Phone number of the user. |
- Tap the arrow under the More, which displays detailed account information.
User Account
It displays the Verified™ User Account Details.
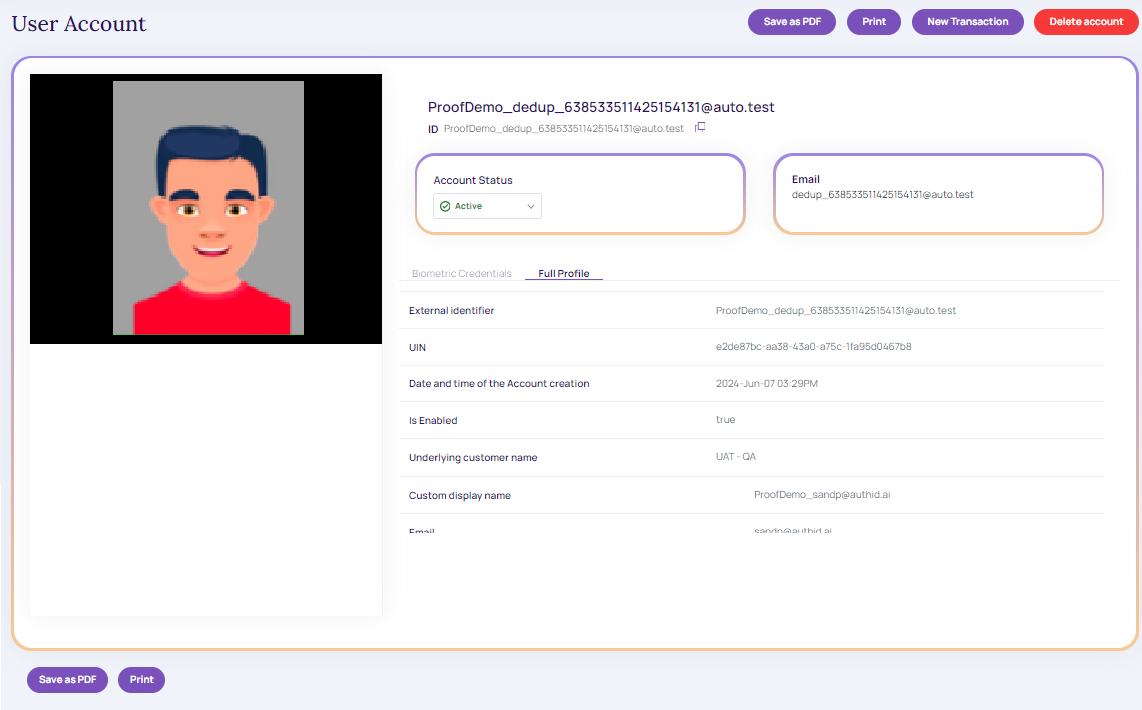
User Account
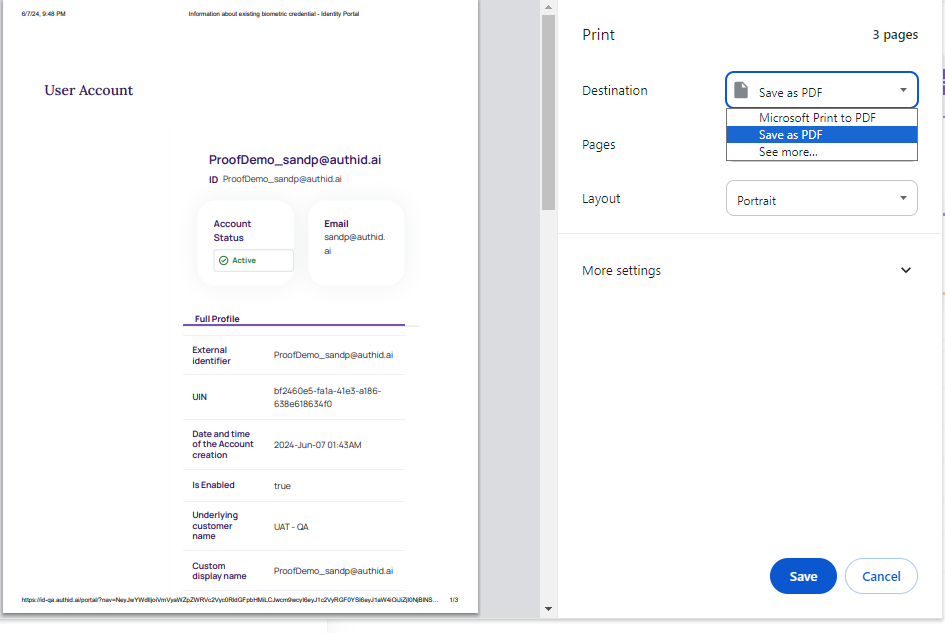
Save as PDF
The user can import the user account to PDF format.
- Click Save as PDF, and the user account-related data gets downloaded into PDF format.
Sample PDF.
Print
The user can take a printout of the user account screen.
- Select Print, the print screen appears with the user account screen's suitable print option.
Sample Print
- To take a print of the user account details, click Print.
New Transaction
For more information refer to the Manual session creation
Delete User Account
Users can delete the newly created or existing User Account.
- From the User Account screen, click Delete Account
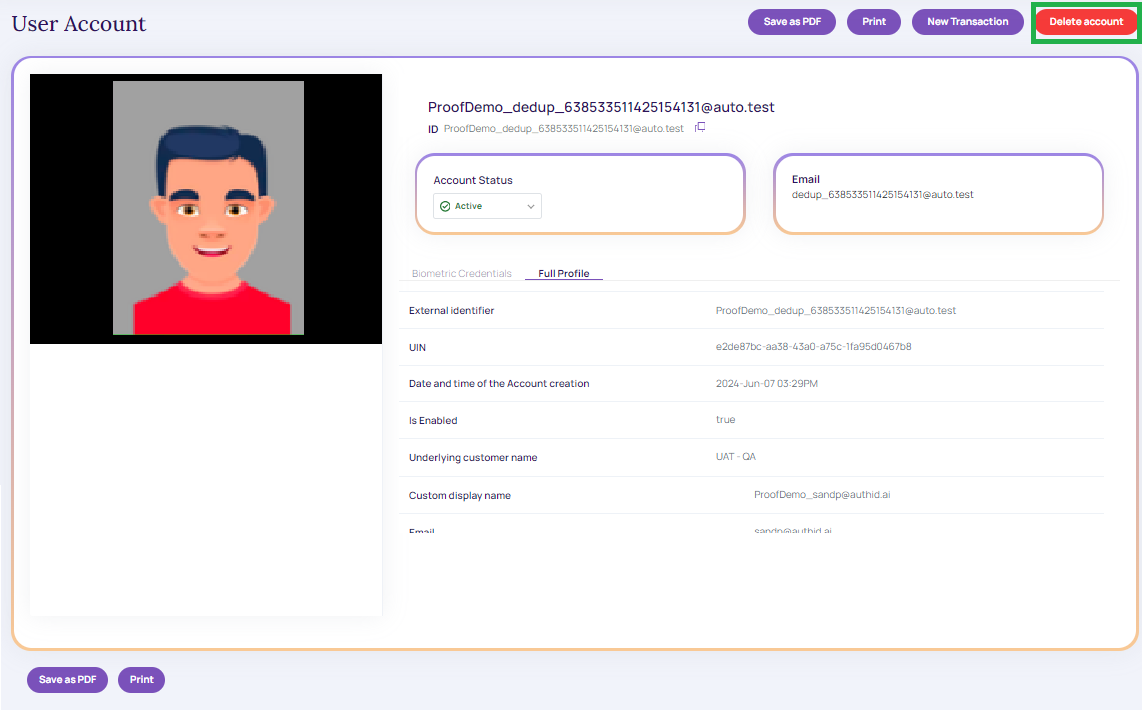
Delete Account
- A Delete confirmation message displays, as in the below screen
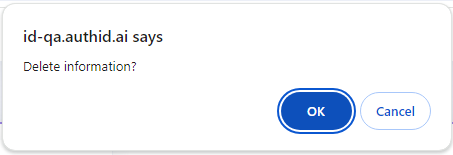
Delete Confirmation
- Click OK to continue to delete the created or existing user account.
- Click Cancel to cancel the User Account screen.
Delete Biometric Credentials
Users can delete the Biometric Credentials.
- From the User Account screen, scroll down until you see the ‘Delete biometric credential’ text at the bottom right corner.
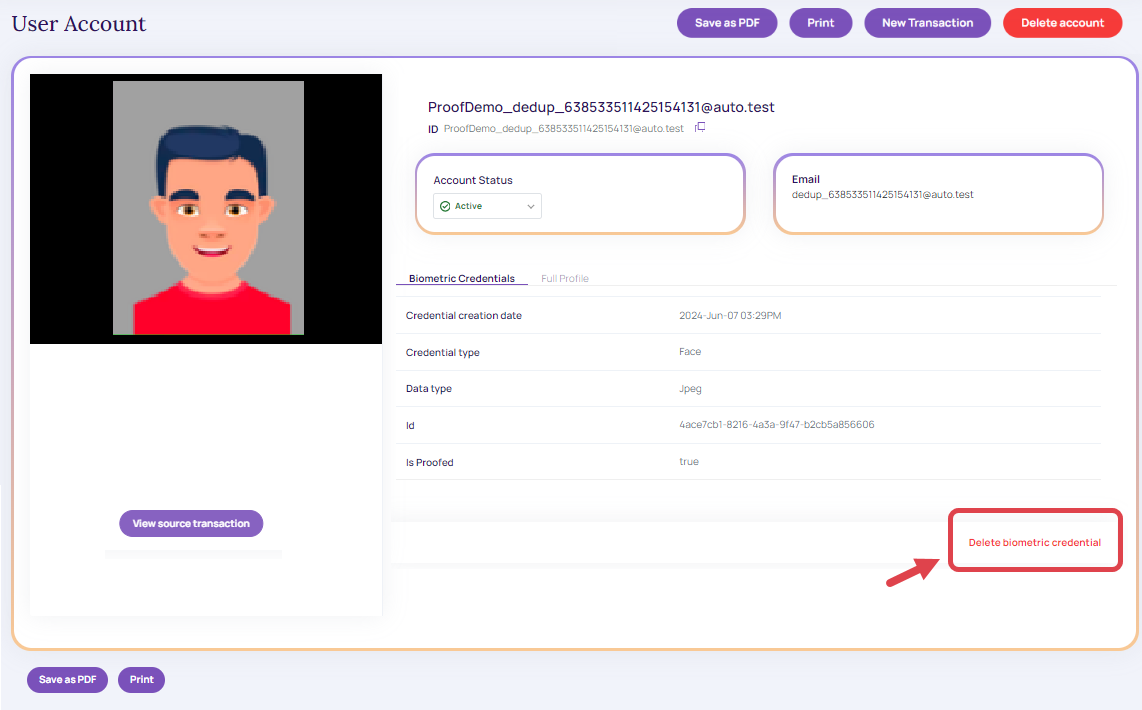
- A Delete confirmation message displays:

Delete Confirmation
- Click OK to continue to delete the created or existing Biometrics.
- Click Cancel to cancel deletion and go back to the "User Account" screen.
NoteIf you don’t see the ‘Delete biometric credential’ text and the account does not have a photo, Biometric Credentials have not been enrolled. If you need to enroll them, follow these instructions
Delete a Passkey
To preserve security and compliance, one of the most important jobs in user identity management is the ability to delete a passkey.
-
From the User Account screen,
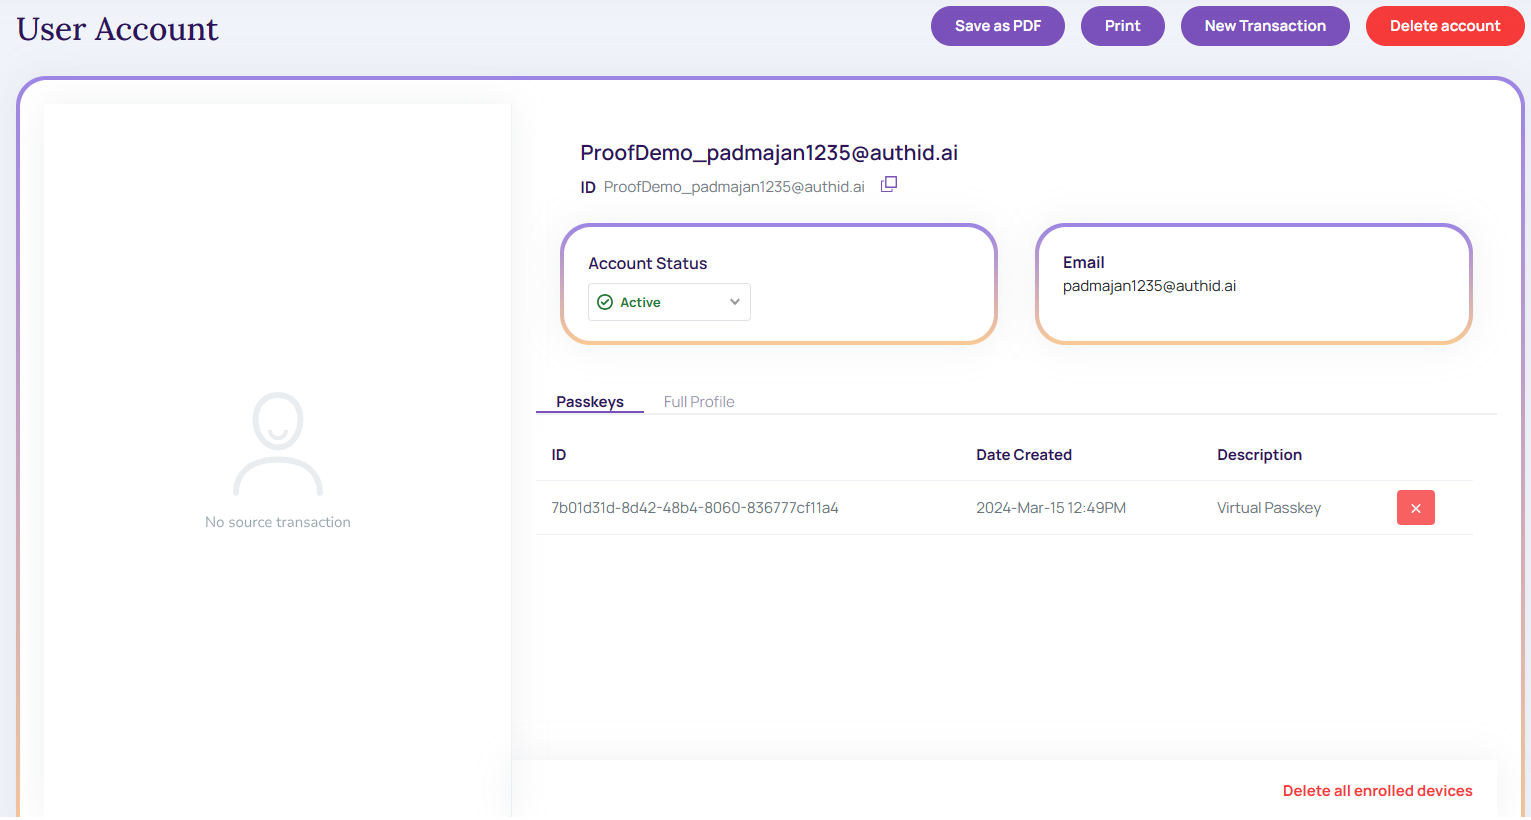
User Account: Passkeys
-
Click on the icon to close
(X)to delete the passkeys -
A Delete confirmation message displays id.authid.ai
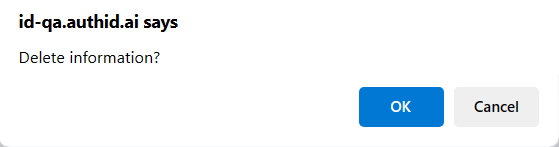
Delete Confirmation
- Click OK to continue to delete the created or existing Passkeys.
- Click "Cancel" to cancel the "User Account" screen.
- For more information, refer to the Enroll Device and FIDO2 Passkey Authentication
Updated 9 months ago